Once we have created our account over at tawk.to, we are ready to implement it on our website. Haven't created an account yet? Read this article for help.
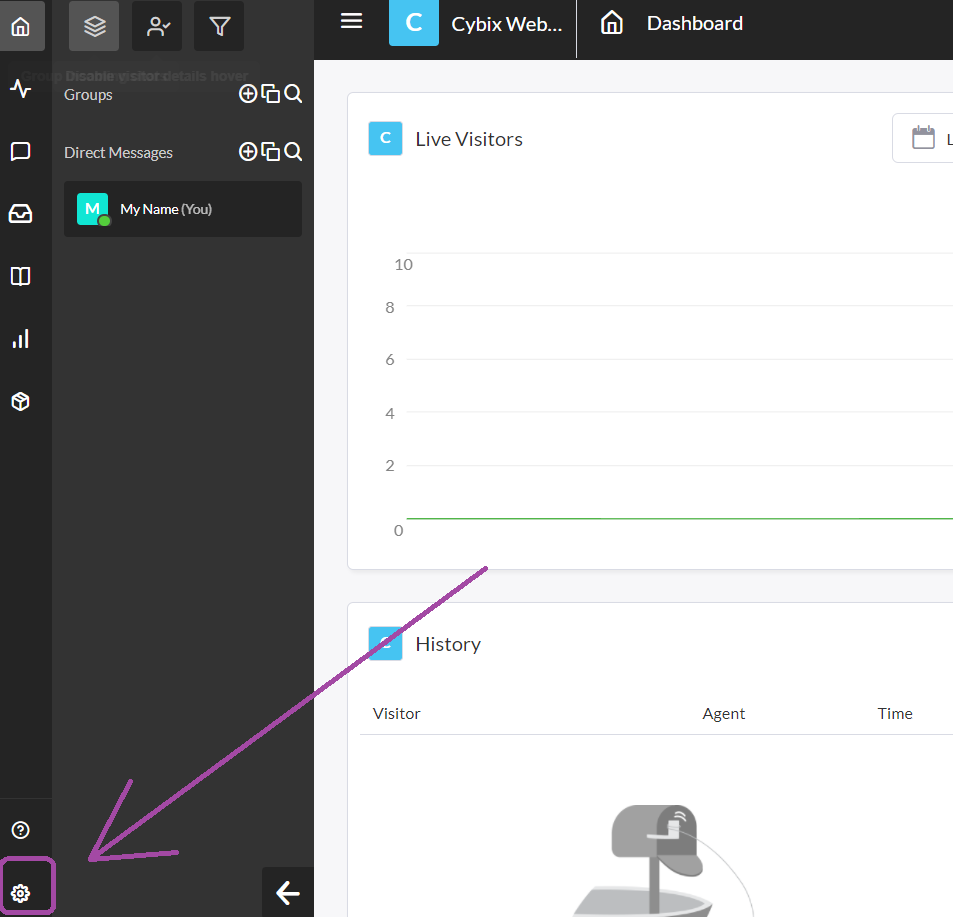
1. Log in to your tawk.to dashboard. Head over to the gear icon called Administration located in the bottom left.
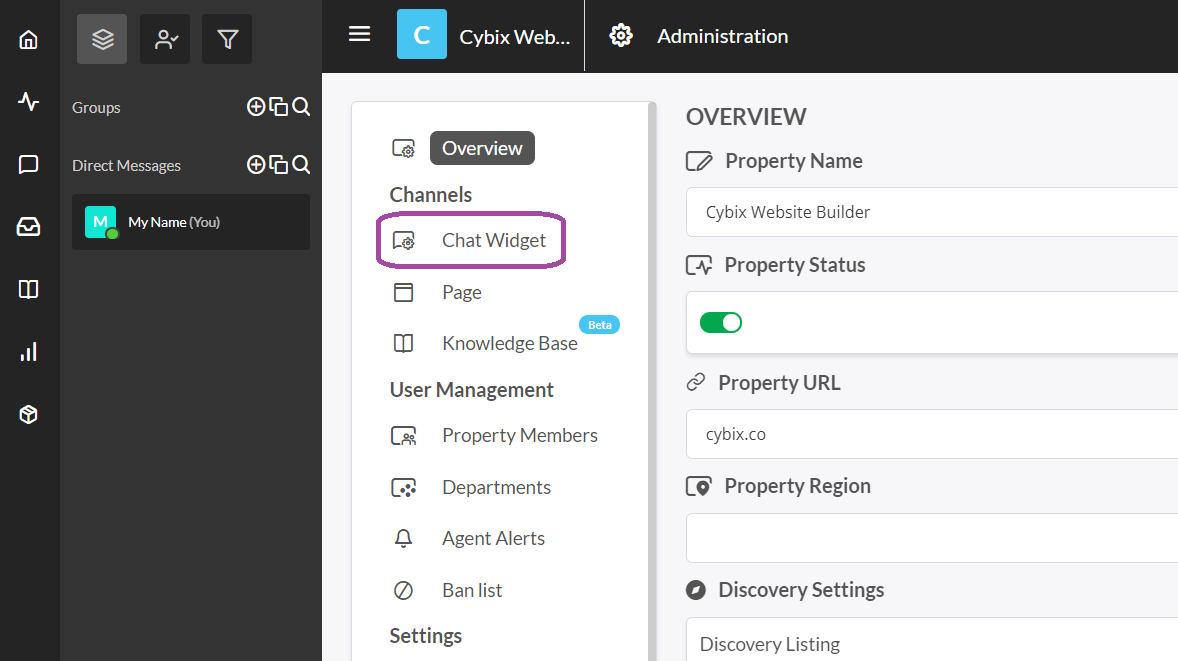
2. Here, you have a lot of settings for your property. For now we will focus on getting the ID for the widget over at Cybix. In the center menu, click on Chat Widget.
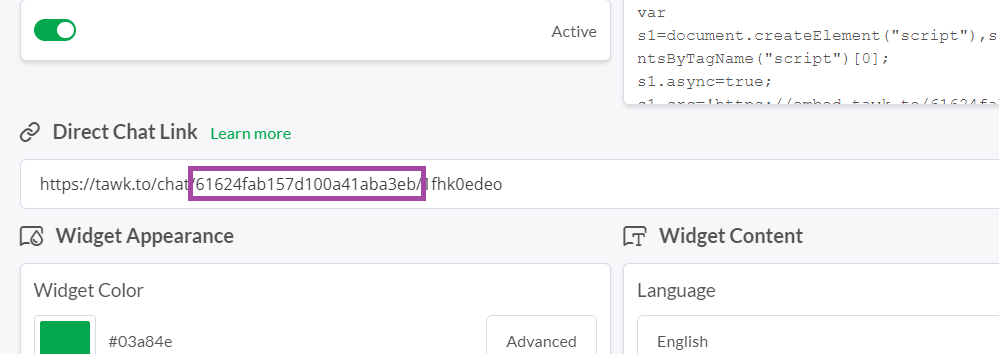
3. From here, we only need part of the Direct Chat Link. Copy only what is after the /chat/ and before the last /. Example: https://tawk.to/chat/61624fab157d100a41aba3eb/1fhk0edeo, we copy only 61624fab157d100a41aba3eb.
4. Now that we have gathered the ID over at tawk.to, we log in to Cybix website builder. Once we are logged in, we click on the + sign ➡ Advanced ➡ scroll down and choose the Tawk.to widget below the chat category.
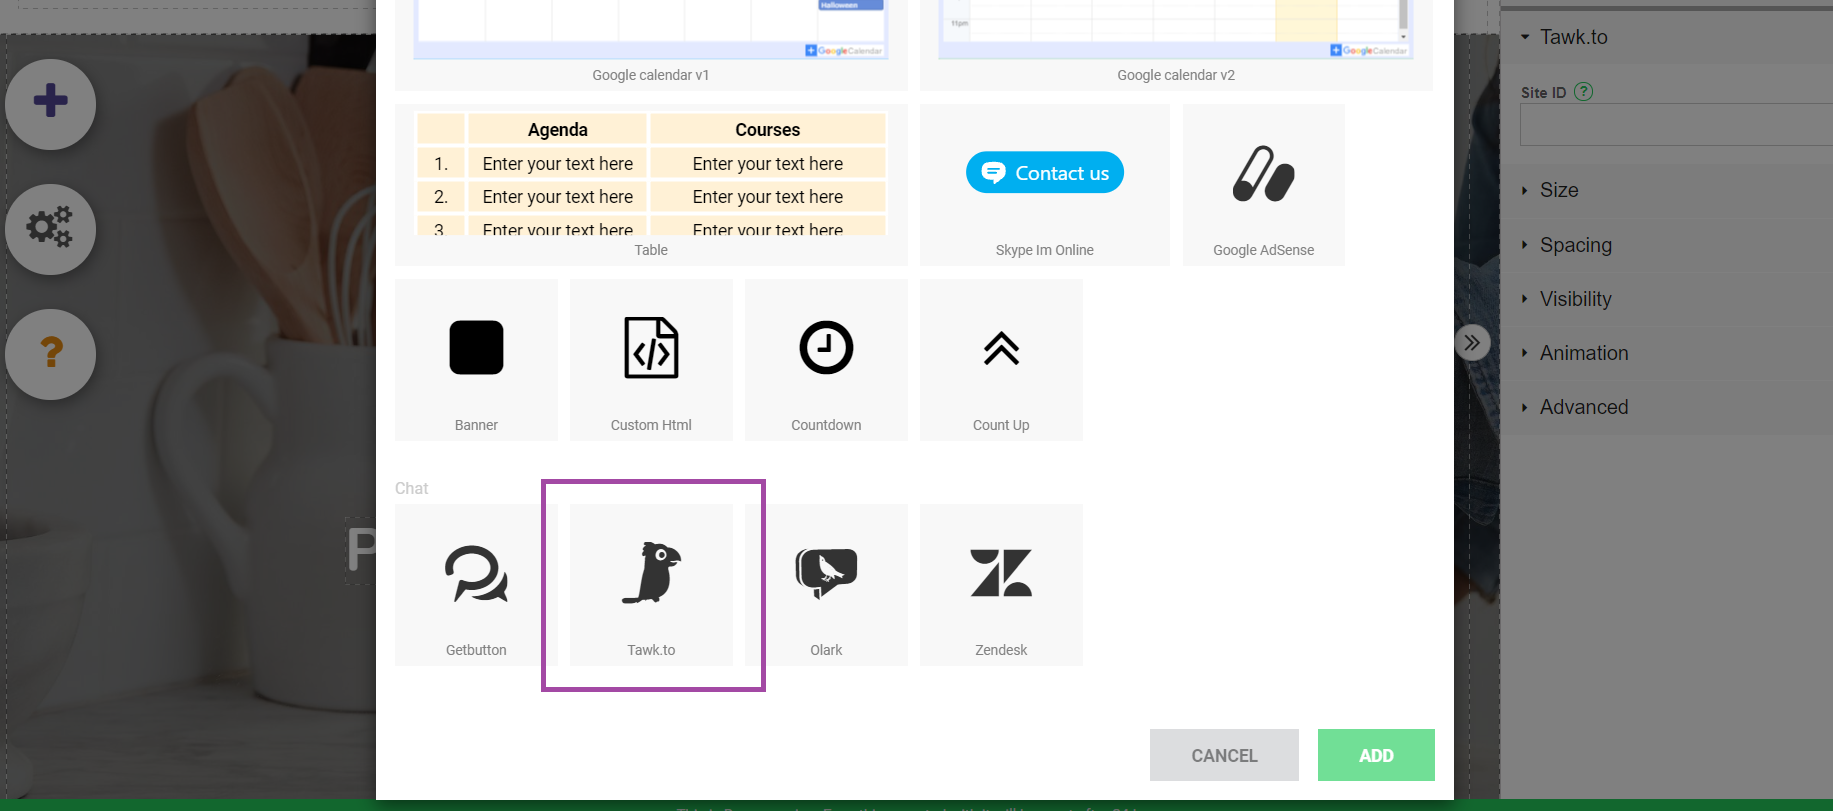
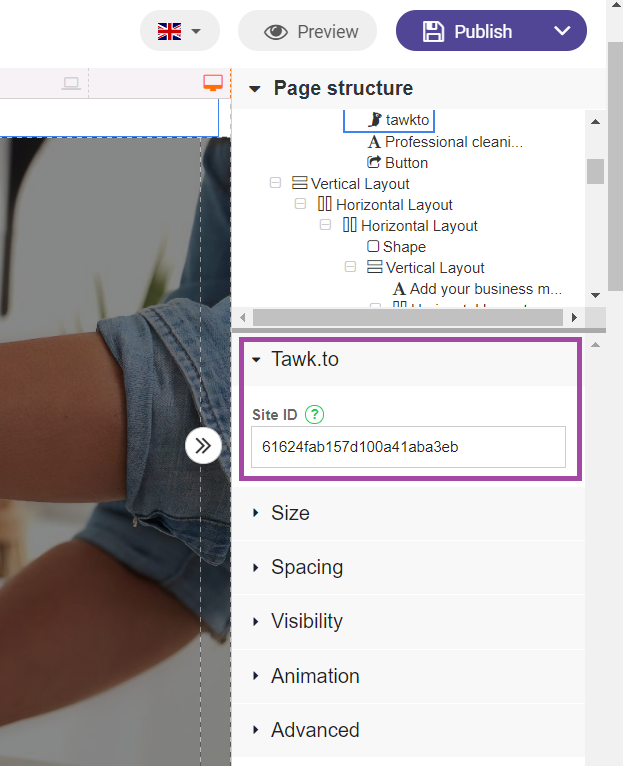
5. We click on the tawk.to widget, and on our right below page structure you will see Site ID below the Tawk.to tab. Here we paste the letters and numbers copied over in the tawk.to dashboard. (61624fab157d100a41aba3eb).
6. Now we click Publish and your live chat widget will be live!
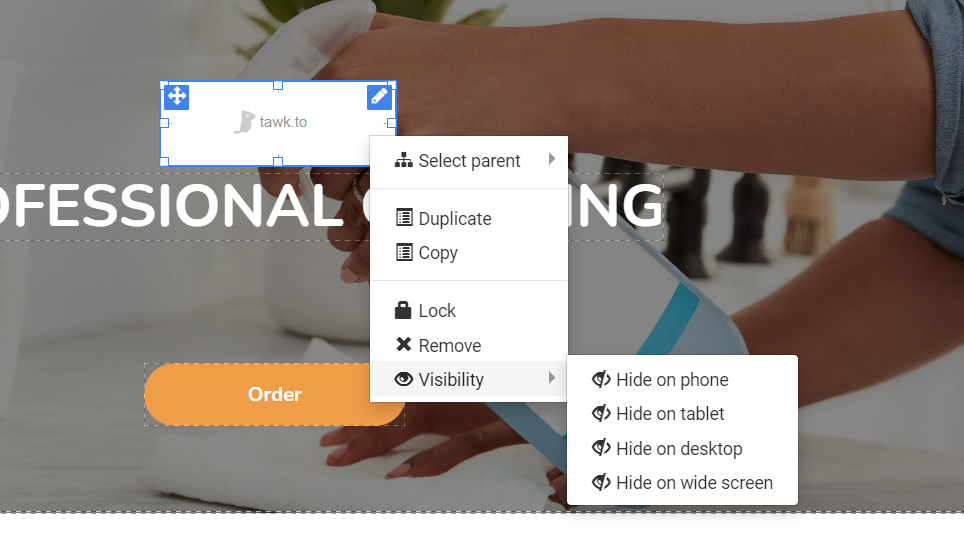
7. We recommend hiding the widget, so it doesn't push down on other elements. For this, right-click the tawk.to widget, hover over Visibility and click Hide on phone, tablet, desktop, and wide screen. To edit this widget again, you will be able to find it under Page structure.
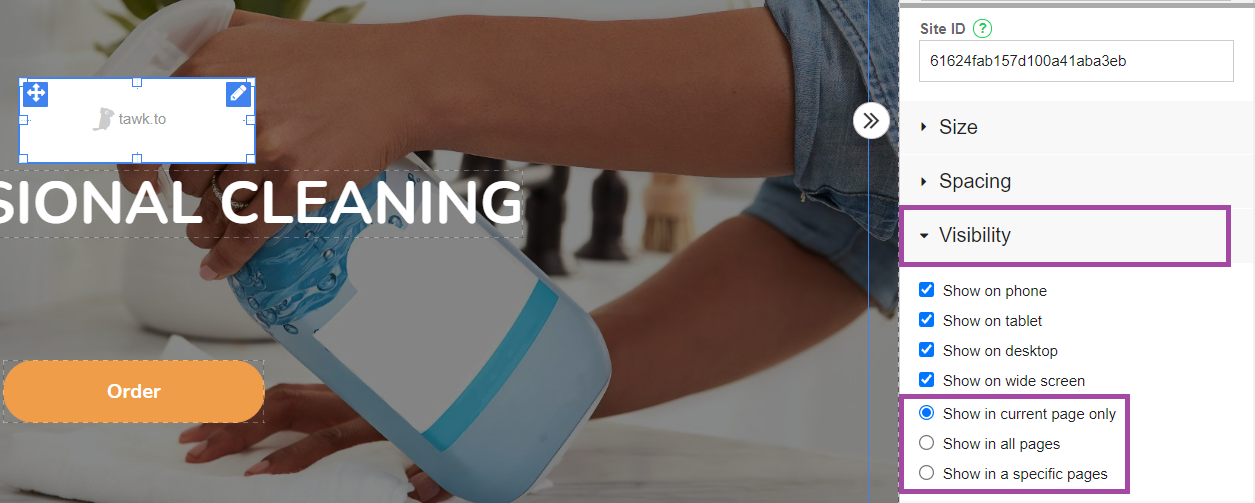
8. For the tawk.to widget to appear on all pages of your website, or if you would like to exclude some pages, click the tawk.to widget and on the widget's menu select the Visibility tab. From here, you will be able to complete the step above and select which pages you want your live chat icon to appear in.
You are ready to start engaging with your customers! For more articles on how to use the live chat, you can visit tawk.to's help center.
